My name is MacKenzie!
Hello everyone! I am currently a junior at ASU studying Secondary Education (English). I love working with America Reads because it gives me an opportunity to create unique and engaging activities for students of all ages. I love reading and writing and I am very passionate about helping students learn to read and write. It is for these reasons that I chose to focus on Arizona Common Core standard 7.RL.1 this week. The booklet teaches students the basics of citing textual evidence and serves as a guide for all of the vocabulary terms related to textual evidence. It is also useful as it has a place dedicated for a text that the students are currently reading in class. Teachers can pick an excerpt from a book they are reading as a class or a short passage that relates to something else students are learning. There is also a spot next to it for students to practice using textual evidence from this text.
In this activity, students will learn about textual evidence. Specifically, students are going to be able to cite textual evidence within their own writing to support inferences they draw from the text. Students will also learn about the new vocabulary involving textual evidence. They will learn the following vocabulary terms: textual evidence, implicit and explicit evidence, cite, background knowledge, inference, and analyze. Students will learn this material by making a booklet that includes interactive notes. The purpose of this is to give the students a guidebook to look back on as a resource when they cite evidence within their own writing. The interactive notebook is a fun and engaging way to take notes and learn the material.
This will meet the Arizona Common Core standard 7.RL.1 by teaching students how to cite textual evidence in their writing to prove inferences.
What you will need:

● Provided template
● Piece of cardboard
● Clear tape
● Glue
● Scissors
● String/yarn ● Pencil
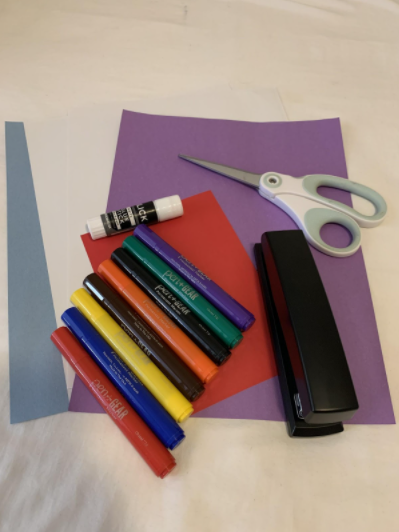
- 2 pieces of colored paper
- 3 pieces white paper
- 1 small square of red paper
- Markers/pens
- Scissors
- Glue
- Stapler
Directions:
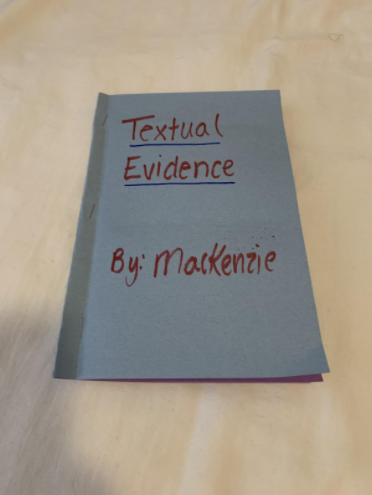
1. Have your students take their two colored pieces of paper and fold them together horizontally, creating a strong crease and stapling along the edges.

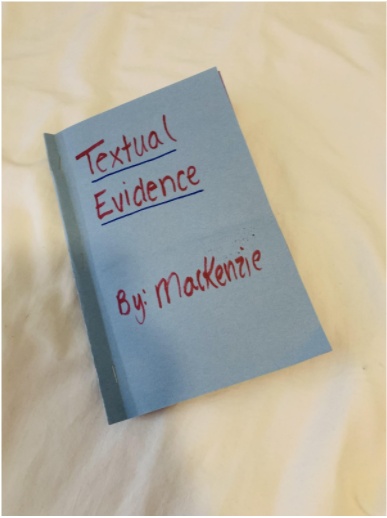
2. After the booklet is made, instruct your students to title it “Textual Evidence” on the front cover and put their name on it. Tip: let them decorate their cover however they’d like and encourage them to use fun pictures and colors.
3. Now using one piece of the white paper, instruct your students to cut out seven 2×2 inch squares.

4. Next, your students are going to make two pages dedicated to vocabulary- these will be the first two pages of the book after the title page. Have your students title the cards: “textual evidence”, “explicit”, “background knowledge”, “Cite”, “implied”, “inference”, and “analyze”.

5. Have your students glue down the tops of the square pieces of paper to create tabs, and write the definitions of each word underneath the tabs.

6. The next page will be another title page. Have your students write, “How can I cite Textual Evidence?” for their title.
7. On the page after that, students will create ACE cards which stand for Answer, Cite, and Explain. These are the basic steps to incorporating textual evidence into their writing. Have the students take the red paper square and glue the side and bottom edges to the page. Don’t glue the top edge! This creates a pocket for the ACE cards they are going to make next.

8. To make the cards, have the students take the second white piece of paper and cut out three 3×2 rectangles.
9. On the first card write “A: answer the question thoroughly”, on the second card write “C: cite textual evidence that supports your answer”, and on the last card write “E: explain the textual evidence and connect it to your answer”.

10. After their cards are finished, they can tuck them into the red pocket they created before.

11. The next page is for the text excerpt. Print out excerpts of text from class to have your students glue onto this page.
12. On the last page the students are going to create a chart that provides prompts for them to answer about the text excerpt. To create the chart, take the last white piece of paper and fold it in half horizontally.

13. Next, leaving about a half inch space, draw a line straight down the page. Create five rows that are about 2 inches wide.

14. Next, title each of the columns with the prompts listed below.
- According to the text,
- The author stated that
- From the reading I learned that
- On page__, it stated that
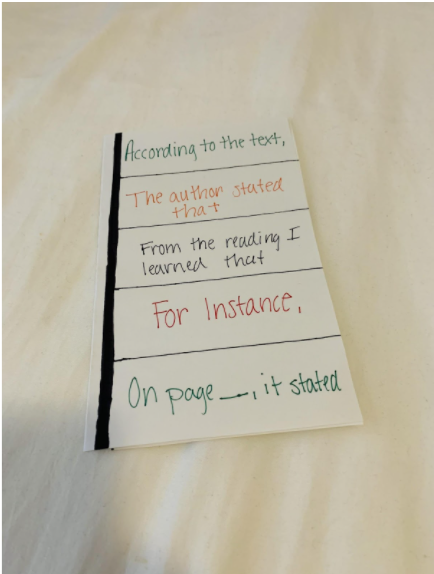
15. Now have the students cut along each of the lines to create flaps.
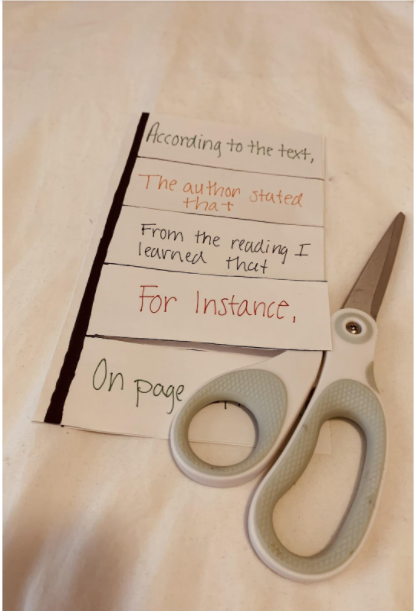
16. Lastly, guide your students in filling out the prompts underneath the flaps with textual evidence from the story you provided.

Your students will now be able to define vocabulary words that pertain to textual evidence. Students should be able to identify the basic steps of incorporating textual evidence into their writing. Lastly, students will be able to connect the textual evidence standard to current text in their class or other things being learned to enhance learning.
Thank you for visiting our blog! If you liked this activity and would like to see more, please visit our website and our Pinterest! See you next time!
