Kindergarten: My Goals

My name is Lizmari!

I am a Sociology grad student. I would love to teach someday because education is essential to any society. I want to teach kids that learning can be fun and that reading, and writing isn’t that hard. I hope you enjoy this activity and share it with your friends and family!

 Your students will learn how to identify and describe a selected topic with drawings or images to add details.

This will meet the Arizona Common Core standard (K.SL.5), by teaching students to add drawings or other visual displays to descriptions as desired to provide additional detail.

What you will need:

● Provided template 

● Piece of cardboard 

● Clear tape 

● Glue 

● Scissors 

● String/yarn ● Pencil

  • Something to draw or write with
  • Paper, it can be colored if you like
  • Scissors if necessary 
  • Glue or tape if necessary
  • Magazines or books with images are optional

Directions:

  1. For this activity we will be making a vision board. We’re going to think about our goals. 
  2. First decide if you want to draw your images or if you have some magazines around that you can cut out some pictures.

Calendar

Description automatically generated

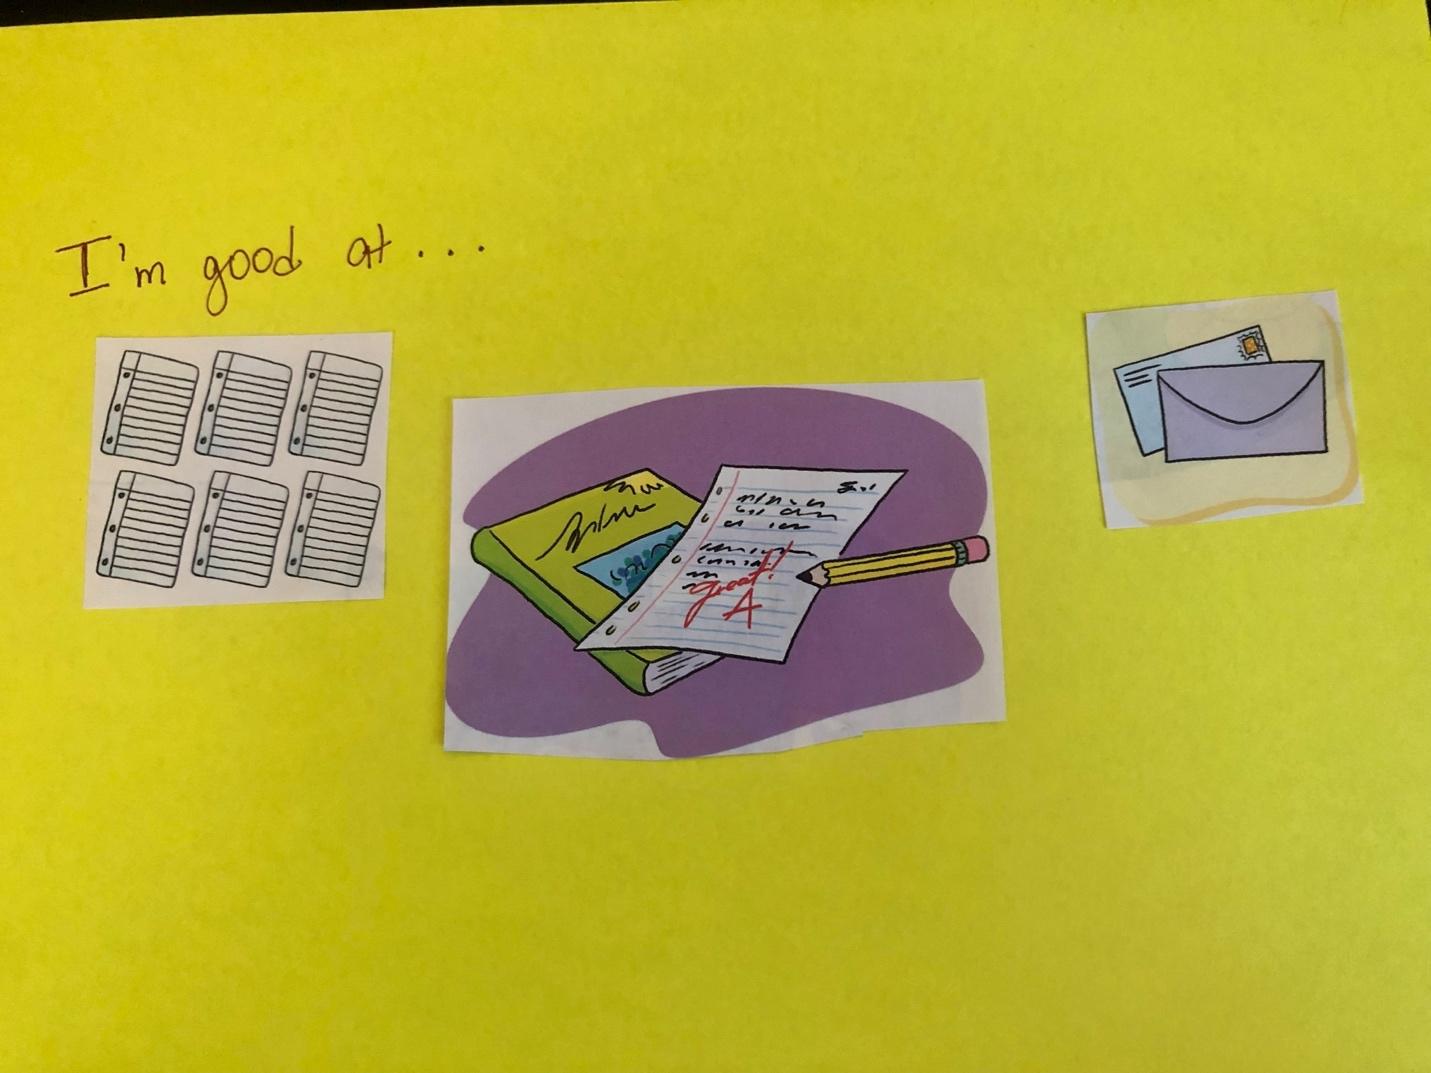
3. Grab your sheet of paper and write down: I am good at… 

4. Leave some space. Now look for some images that represent what you’re good at. I am good at writing so I will look for images that could represent that. 

5. Paste or draw your images.

A picture containing text, envelope

Description automatically generated

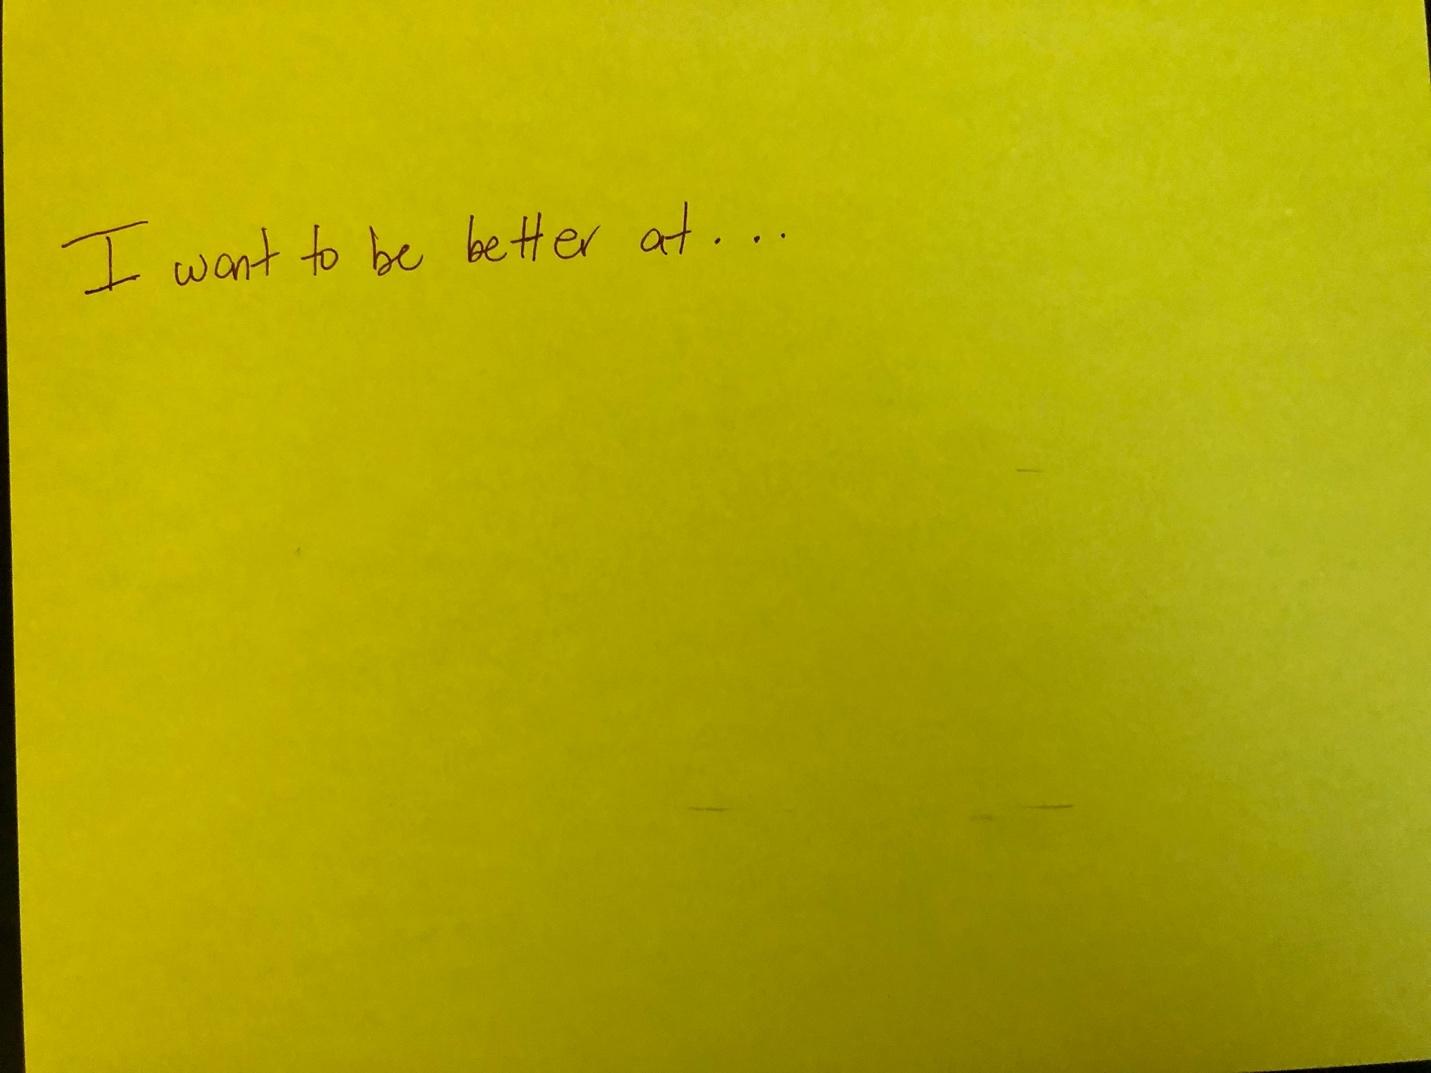
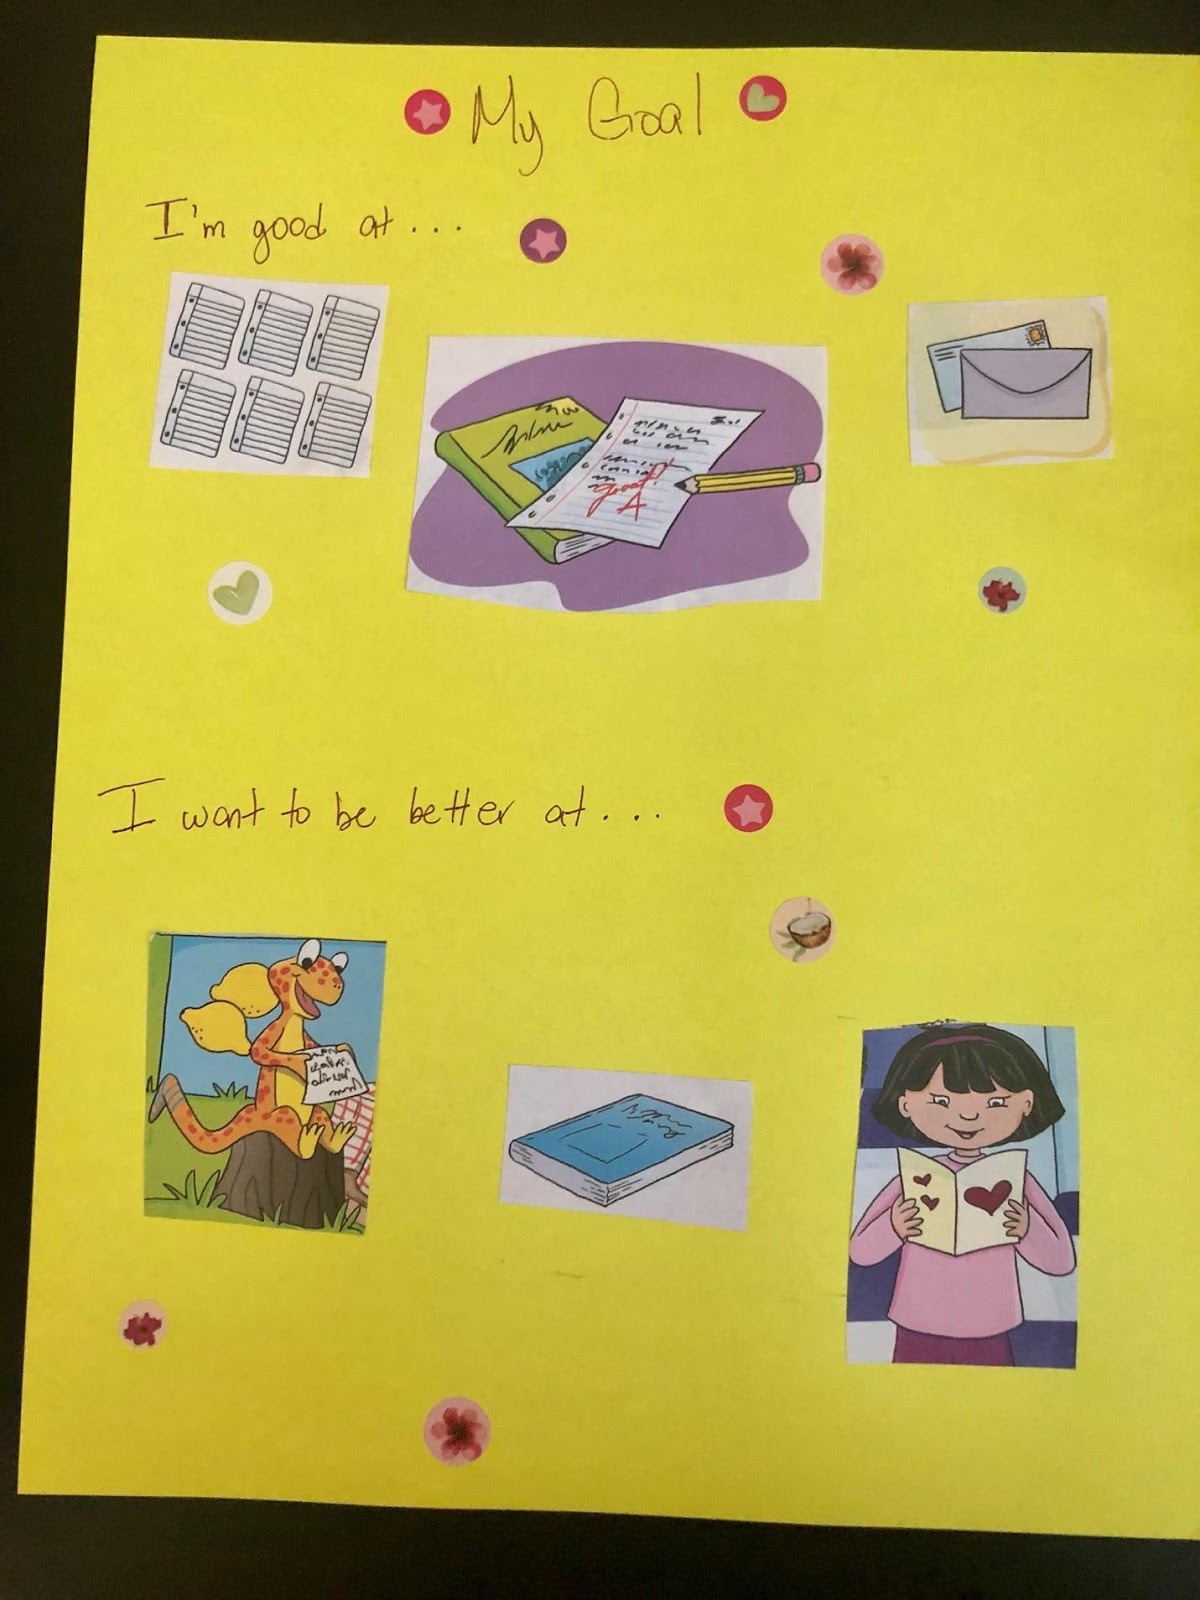
6. Now write down: I want to be better at… 

A picture containing text, yellow

Description automatically generated

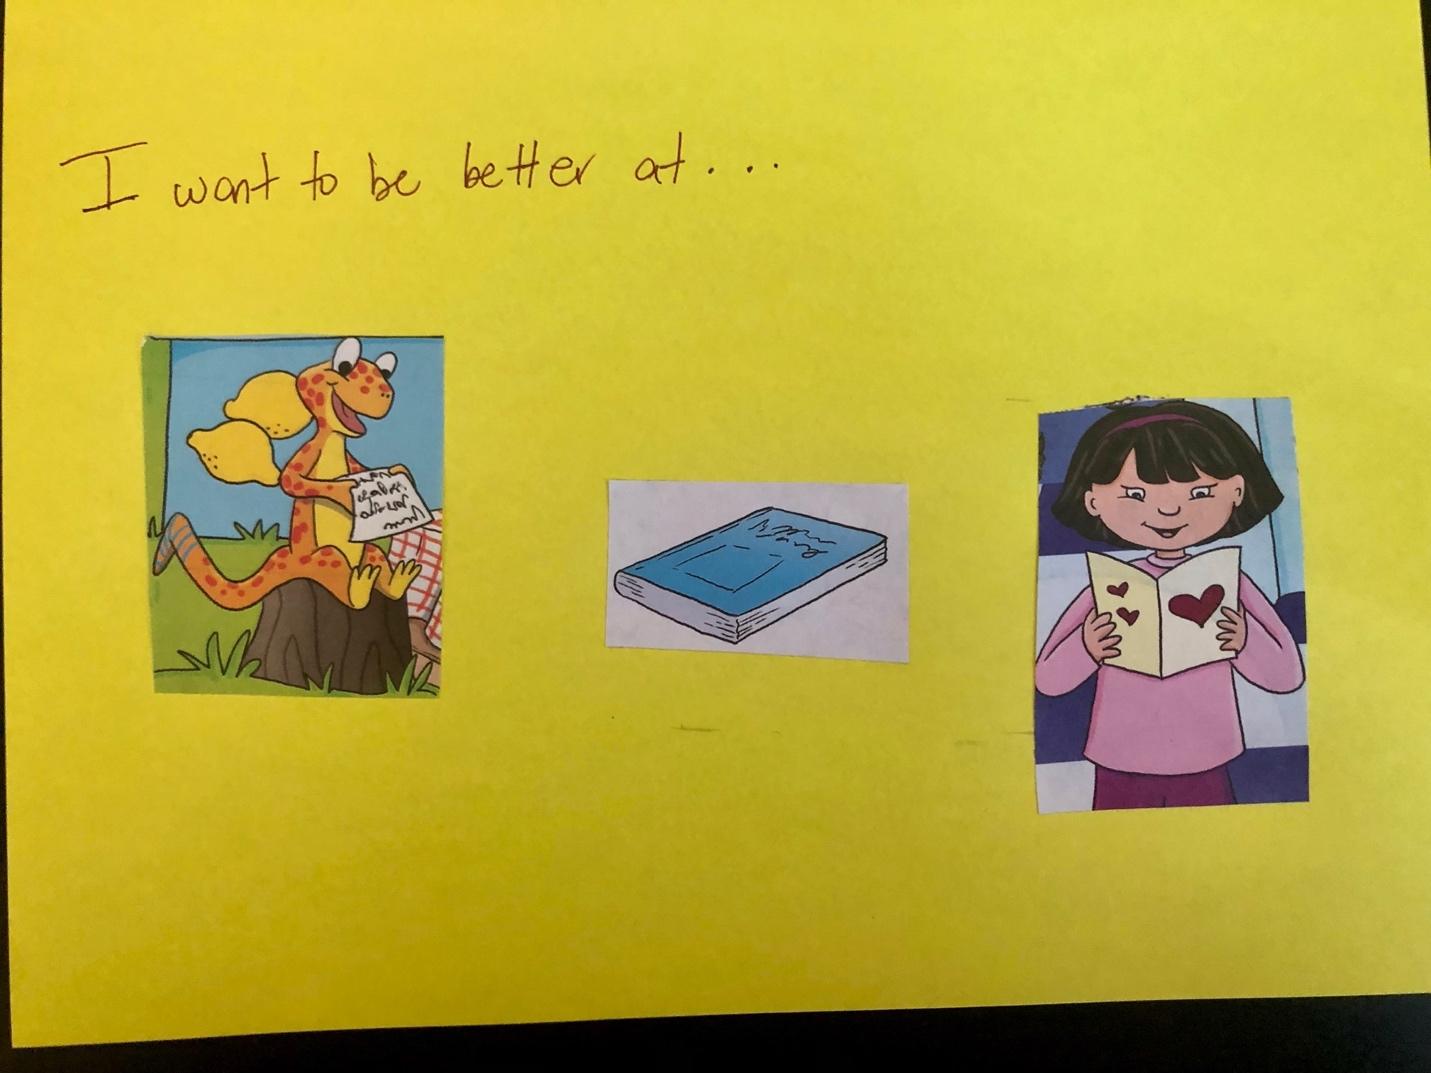
7. At least for me, I want read faster, so I will look for some images that represent that. 

8. Paste your images like this:

A picture containing graphical user interface

Description automatically generated

9. Let’s decorate our vision board. 

10. You can draw or find other images you like for your board. 

11. Add the title My Goals.

Graphical user interface, application, calendar

Description automatically generated

12. And we’re done! 

Results: This looks great! I hope you achieve your goals! You can hang this on your room, so you don’t forget about them. Today you learned how to describe something with drawings or images! Great job!

Thank you for visiting our blog! If you liked this activity and would like to see more, please visit our website and our Pinterest! See you next time!

Kindergarten: Q’s With Pumpkins! 

Hello everyone! My name is MacKenzie!

I am currently a junior at ASU studying Secondary Education (English). I love working with America Reads because it gives me an opportunity to create unique and engaging activities for students of all ages. I love creating hands-on activities that encourage students to take an interest in their own learning.

Your students will be able to ask and answer questions by gathering information. They will seek to clarify and better understand information about a topic or story. 

This will meet the Arizona Common Core standard (K.CC.A.1), by teaching students to ask and answer questions in order to seek help, get information, or clarify something that is not understood.

What you will need:

● Provided template 

● Piece of cardboard 

● Clear tape 

● Glue 

● Scissors 

● String/yarn ● Pencil

  • Orange paint 
  • Paper plate bowl
  • Green construction paper
  • Black construction paper
  • Scissors
  • Paint brush
  • Paper fastener
  • Marker
  • Glue or tape

Directions:

1. First, introduce the topic of pumpkins to your students. You can do this by reading an article, story, or activity. Tip: You can relate this to any subject. For instance, you could have students plant pumpkin seeds and talk about the growing process. 

2. Next, have your students paint their paper plate bowls using the orange paint to create their pumpkin. Tip: For less mess, you can have the students only paint the outside of the bowl. 

3. As their bowls dry, have your students trace out five pumpkin leaf stems onto the green construction paper.

4. Next, assist your students in cutting out their stems. If needed, pre-cut the stems for your students. 

5. Then, guide your students in writing the question prompts “What, When, Where, How, & Why” on each of the stems. 

6. Next, have your students place each of the stems onto the paper fastener and then fasten them onto their pumpkin.

7. Using the black construction paper, have your students cut out two triangles and a triangular half circle for the face of their pumpkin. 

8. Next, using glue or tape, have your students secure the pumpkin’s face. 

9. Finally, have your students slide through the question prompt stems to ask questions about pumpkins. For instance, prompt your students by asking questions like “Where do pumpkins grow?” or “How do we grow pumpkins?” or “What can we make using pumpkins?”. 

10. Have your students continue using the question prompt stems to ask questions about both pumpkins and other topics!

Results: Your students should now be able to use the question prompts “What, Where, When, Why, and How” to learn more about a topic or story. 

Thank you for visiting our blog! If you liked this activity and would like to see more, please visit our website and our Pinterest! See you next time!

Kindergarten: Fall Days are Fun Days!

Hello, my name is Kayden!

I am a student at Arizona State University. I really enjoy teaching, and I am here to help you see just how fun writing can be! I can’t wait to help you understand why spelling, capitalization, and ending punctuation marks are so important!

This activity focuses on spelling, capitalization, and ending punctuation marks. During this activity, you will learn how to pronounce and spell words, identify words that need capital letters, and identify the proper punctuation marks that belong at the end of the sentence.

This will meet the Arizona Common core standard K.L.2, by teaching students about the command of the conventions of standard English capitalization, punctuation, and spelling when writing.

What you will need:

● Provided template 

● Piece of cardboard 

● Clear tape 

● Glue 

● Scissors 

● String/yarn ● Pencil

● Printable templates (3)
● Pencil
● Colored pencils (red, orange, yellow, light brown, dark brown)
● Scissors
● Glue stick

Directions:

1. First, you will want to gather your 3 templates. You will begin with template 1 “Color by Number Key.”

2. Next, you will read each sentence out loud, and determine the word(s) that need to be capitalized and the correct ending punctuation marks. Rewrite the sentences correctly.

3. After you have completed rewriting each sentence, you will fill out the right side of the “Color by Number Key” template. Look at the underlined word in each sentences, say it out loud, and try to spell it without looking back at the word.

4. Once you have finished spelling each of the underlined words, you will move on to template 2, “Color by Number.” In template 1, we noted the color next to each sentence. Sentence 1 has the color orange, sentence 2 has the color red, sentence 3 has the color yellow, sentence 4 has the color light brown, and sentence 5 has the color dark brown.

5. Now, you will color in each number on the turkey and the leaves. Make sure the color matches the number correctly.

6. After you have finished coloring your turkey and leaves, you will cut each item out. It does not have to be cut perfectly.

7. On the back of the turkey, I would like you to write “Capitalization, punctuation, spelling.” On the back of 3 leaves, I would like you to write a different ending punctuation mark on each leaf. On the other 3 leaves, I would like you to spell 3 different words that each start with a capital letter.

8. Now that you have all your important points written down, it’s time to glue our cut-outs onto template 3 “Capital Letters, Punctuation Marks, and Spelling.”

9. You should end up with a perfect fall scene with a tree, a turkey, and some leaves blowing in the wind!

Results: By the end of this activity, students will have learned the rules of proper capitalization, ending punctuation marks, and spelling when writing. They will be able to distinguish the difference between punctuation marks and identify which words of a sentence need to be capitalized. They will also have spent time reading key words aloud, pronouncing them, and then spelling them out independently.

Thank you for visiting our blog! If you liked this activity and would like to see more, please visit our website and our Pinterest! See you next time!

Kindergarten: Measuring With Candy Corn!

Hello everyone! My name is MacKenzie

I am currently a junior at ASU studying Secondary Education (English). I love working with America Reads because it gives me an opportunity to create unique and engaging activities for students of all ages. I love creating hands-on activities that encourage students to take an interest in their own learning.

Your students will be able to measure two different amounts in order to which weighs more, and which weighs less. 

This will meet the Arizona Common Core standard (K.MD.A.2), by teaching students to directly compare two objects with a measurable attribute in common, to see which object has “more of”/“less of” the attribute, and describe the difference. For example, directly compare the heights of two children and describe one child as taller/shorter..

What you will need:

● Provided template 

● Piece of cardboard 

● Clear tape 

● Glue 

● Scissors 

● String/yarn ● Pencil

  • Black construction paper
  • 2 plastic cups
  • String
  • Hole puncher
  • Scissors
  • Orange paint 
  • Paint brush
  • Candy corn
  • Hanger
  • White colored pencil

Directions:

1. First, have your students paint each of the plastic cups orange and then set them aside to dry. 

2. While they are drying, have your students trace out jack-o’-lantern faces using the white colored pencils on the construction paper. 

3. Then, have your students carefully cut out their jack-o’-lantern faces. Tip: Remember to express scissor safety to your students, and cut the faces out for them if needed. 

4. Once the cups are completely dry, glue the faces onto the cups to create jack-o’-lantern faces. 

5. Then, have your students use the hole puncher to create two holes on each side of the cups horizontally. 

6. Next, have your students cut out two equal strips of the string and tie them in the holes of the jack-o’-lanterns to create holders. 

7. Then, have your students place the hanger on a doorknob or something similar so that the hanger is able to move. 

8. Place the jack-o’-lantern cups on each side of the hanger like pictured below. 

9. Finally, have your students place candy corn in each cup. Explain that the cup that dips lower is heavier and weighs more, and the cup that is higher up weighs less. Have the students experiment putting different amounts of candy corn in each cup to see which amounts weigh more and less than one another. 

Your students should now be able to compare measurable amounts. They will be able to determine which amount weighs more and which weighs less. 

Thank you for visiting our blog! If you liked this activity and would like to see more, please visit our website and our Pinterest! See you next time!

Kindergarten: Learning Sight Words With Turkeys!

Hello everyone! My name is MacKenzie!

I am currently a junior at ASU studying Secondary Education (English). I love working with America Reads because it gives me an opportunity to create unique and engaging activities for students of all ages. I love creating hands-on activities that encourage students to take an interest in their own learning.

Your students will be able to read common sight words. They will automatically recall common sight words like the, of, to, you, she, my, is and more.

This will meet the Arizona Common Core standard (K.RF.3c), by teaching students to read common high-frequency words by sight (e.g. the, of, to, you, she, my, is, are, do, does).

What you will need:

● Provided template 

● Piece of cardboard 

● Clear tape 

● Glue 

● Scissors 

● String/yarn ● Pencil

● Sight Words Template
● Colored Pencils
● Red and yellow construction paper
● Scissors
● Glue
● Orange, red, yellow, and brown paint
● Paint brush
● Googly eyes
● 2 paper plates

Directions:

1. First, print the template for your students. Tip: You can also make your own template or edit it to include more sight words.

2. Cut out the boxes with the sight words on the first page of the template.

3. Then, have your students color the letter leaves within the template.

4. Next, assist your students in cutting out the letter leaves carefully.

5. Then, have your students cut out the center of the first paper plate and paint it brown. This is the turkey’s head.

6. Cut the second paper plate in half.

7. Using the orange, red, and yellow paint, have the students paint the half paper plate to create the turkey’s wings.

8. Have the students cut out feet and a neck for the turkey using the red piece of paper.

9. Then, help the students cut out a beak for their turkey using the yellow construction paper.

10. Once the turkey’s head is dry, have the students glue their googly eyes, beak, neck, and feet to the turkey.

11. Lastly, have the students glue the turkey’s head to their wings.

12. Next, have your students select the sight words randomly and then spell them using the letter leaves.

13. Have your students continue doing this until they have practiced spelling all of their sight words. Tip: There are blank leaves that the students can write letters on in order to create different words.

Results: Your students should now be able to read and recognize common sight words.

Thank you for visiting our blog! If you liked this activity and would like to see more, please visit our website and our Pinterest! See you next time!

Kindergarten: The Butterfly & The Moth

Hello everyone! My name is MacKenzie!

I am currently a junior at ASU studying Secondary Education (English). I love working with America Reads because it gives me an opportunity to create unique and engaging activities for students of all ages. I love creating hands-on activities that encourage students to take an interest in their own learning.

Your students will be able to compare and contrast the adventures and experiences of characters within a story. They will also be able to compare and contrast the characteristics of the characters.

This will meet the Arizona Common Core standard (K.RL.9), by teaching students to with prompting and support, compare and contrast the adventures and experiences of characters in familiar stories

What you will need:

● Provided template 

● Piece of cardboard 

● Clear tape 

● Glue 

● Scissors 

● String/yarn ● Pencil

● Moth & Butterfly Characteristics Template
● Moth & Butterfly: Ta Da! by Dev Petty
● 2 paper plates
● 1 pink pipe cleaner
● 1 blue pipe cleaner
● Brown, pink, yellow, orange, nude, and blue paint
● Paint brush
● Yellow construction paper
● Black marker
● Blue marker
● Orange marker
● Stapler

Directions:

1. First, read the book, “Moth & Butterfly: Ta Da!” by Dev Petty to your students.

2. Now your students are going to recreate the butterfly! Have your students cut the first paper plate in half and cut out a triangle shape from the middle of both halves.

3. Next, have your students paint the butterfly wings using pink, orange, and yellow to match the butterfly in the story.

4. While the wings are drying, have your students cut out a long oval with a pointed end to make the butterfly’s body using the yellow construction paper.

5. Using the black and orange makers, help your students draw fun faces on their butterflies!

6. Next, help your students to staple the wings together like shown below.

7. Have your students glue their butterfly body on top of the wings to connect them.

8. Then, have your students cut the pink pipe cleaner in half and twirl the tops for the butterfly’s antennae.

9. Then, have your students use the glue or stapler to put the antennas on the butterfly!

10. Lastly, have your students draw the butterfly’s legs.

11. Now have your students recreate the moth! First, have them cut out a rounded triangle from the second paper plate. This will be the moth’s body!

12. Help your students to paint their moth’s body nude, and draw a face on the moth using the black and blue markers.

13. Then, have your students use the rest of the paper plate to create the moth’s wings like shown below.

14. Now, have your students paint their moth’s wings using the brown and blue paint to resemble the moth from the story.

15. Once the wings are dry, have your students staple them together and then glue the moth’s body on top of them.

16. Next, cut the blue pipe cleaner in half, and then bend them back and forth to change their shape.

17. Then have your students glue their antennae to their moths!

18. Now, print your Moth and Butterfly Template for your students. Tip: If you can’t access a printer, you can also recreate your own characteristics cards.

19. Once printed, have your students cut out each of the cards.

20. Finally, read the cards aloud with your students, and have them sort them based on if it is a characteristic of the moth, the butterfly, or both!

Your students should now be able to compare and contrast characters within a story.

Thank you for visiting our blog! If you liked this activity and would like to see more, please visit our website and our Pinterest! See you next time!

1st Grade: Apple Accordion Reading!

Hello everyone! My name is MacKenzie!

I am currently a junior at ASU studying Secondary Education (English). I love working with America Reads because it gives me an opportunity to create unique and engaging activities for students of all ages. I love creating hands-on activities that encourage students to take an interest in their own learning.

In this activity, students will be able to read texts aloud at an appropriate rate. They will be able to recall information from the story.

This will meet the Arizona Common Core standard (1.RF.4b), by teaching students to read on-level text orally with accuracy, appropriate rate, and expression on successive readings.

What you will need:

● Provided template 

● Piece of cardboard 

● Clear tape 

● Glue 

● Scissors 

● String/yarn ● Pencil

● ReadWorks “Apples All Around” Text
● Markers
● Brown colored pencil
● Red paint
● 3 pieces of white paper
● Green construction paper
● Scissors
● Glue
● Paper plate

Directions:

1. Read the story “Apples All Around” by Linda Ruggieri with your students. Have your students take turns reading aloud. You can access the story by creating a free ReadWorks account.

2. Now your students are going to create an accordion foldable in the shape of an apple. Have them paint the paper plate red and set it aside to dry.

3. Then, once the plate is dry, have your students cut it in half.

4. Have your students cut out a stem for their apple using a piece of white paper.

5. Then, have your students color their apple stem brown.

6. Next, using the green construction paper, have your students cut out a leaf for their apple stem.

7. Then, have your students glue the stem and leaves to the top part of the apple.

8. Next, glue the remaining two pieces of white paper together at the bottom to create one long piece of paper.

9. Then, have your students fold the paper back and forth to create an accordion foldable.

10. Next, have your students refer to the story and read it over to find the different types of foods and desserts that can be made with apples. Have your students write down each food they discover on their accordion foldable.

11. Finally, have your students glue the top part of the accordion to the top part of the apple, and the bottom tab to the bottom part of the apple so that the foldable opens and closes to create an apple.

Your students should now be able to read texts aloud as well as recall information from the texts after reading orally.

Thank you for visiting our blog! If you liked this activity and would like to see more, please visit our website and our Pinterest! See you next time!

2nd Grade: Partitioning Shapes with Snowmen!

Tutor Introduction

Hello everyone! My name is MacKenzie and I am currently a junior at ASU studying Secondary Education (English). I love working with America Reads because it gives me an opportunity to create unique and engaging activities for students of all ages. I love creating hands-on activities that encourage students to take an interest in their own learning.

The students will be able to divide circles and rectangles into equal portions of two, three, and four. They will also be able to describe portions of shapes as “three thirds”, “two halves” and more.

This will meet the Arizona Common Core standard (2.G.A.3), by teaching students to partition circles and rectangles into two, three, or four equal shares, describe the shares using the words halves, thirds, half of, a third of, etc., and describe the whole as two halves, three thirds, four fourths. Recognize that equal shares of identical wholes need not
have the same shape.

What you will need:

● Provided template 

● Piece of cardboard 

● Clear tape 

● Glue 

● Scissors 

● String/yarn ● Pencil

● Shape Snowman Template
● Colored Pencils
● Scissors
● Glue
● Blue construction paper

Directions:

1. First, print the snowman template for your students to use. Tip: You can also make your own template or have students create the pieces of the snowmen and give verbal instructions for the prompts!

2. Then, have your students follow the prompts on page one to separate the shapes of the first snowman. As they go, have them read aloud how many parts of each shape there are. Ex: “There are two halves in the snowman’s hat”.

3. Next, have your student repeat the same process on the second page. Have them read aloud how many parts are within each shape of the snowman.

4. Repeat step two and three for the last page of the template.

5. Then, have your students cut out each of their snowmen. Tip: Remember to express scissor safety to students, and precut the snowmen for your students if needed.

6. Next, have your students glue their snowmen to their blue construction paper.

7. Finally, using the colored pencils, have your students give their snowmen a face and color the parts of the snowman!

Your students should now be able to partition shapes into amounts of two, three, and four. They should also be able to describe the parts of the shapes as “two halves”, “three thirds”, and “four fourths”.

Thank you for visiting our blog! If you liked this activity and would like to see more, please visit our website and our Pinterest! See you next time!

2nd Grade: Identifying Author’s Points!

Hello everyone! My name is MacKenzie!

I am currently a junior at ASU studying Secondary Education (English). I love working with America Reads because it gives me an opportunity to create unique and engaging activities for students of all ages. I love creating hands-on activities that encourage students to take an interest in their own learning. In this activity, the students will be creating their own hedgehog like described within the story. The students will complete a short write up in which they identify the points made by the authors in the text and the reasons they use to support the points.

In this activity, students will be able to identify points made by authors within a text. They will be
able to identify the supporting details and reasons the authors give to support their points.

This will meet the Arizona Common Core standard (2.RI.8), by teaching students to describe how reasons support specific points the author makes in a text.

What you will need:

● Provided template 

● Piece of cardboard 

● Clear tape 

● Glue 

● Scissors 

● String/yarn ● Pencil

● Ready for Cold Weather ReadWorks Story
● Construction paper
● Light and dark brown paint
● Paper plate
● Cotton ball
● Googly eyes
● Markers
● Scissors
● Glue

Directions:

1. Read the ReadWorks story, “Ready for Cold Weather” with your students.

2. Then, have your students cut off about a third of the paper plate.

3. Next, have your students cut the paper plate to create the shape of the hedgehog like below.

4. Then, have your students use the darker paper plate and paint the body of the hedgehog.

5. Using the lighter brown paint, have your students paint the quills of the hedgehog.

6. Then have your students cut the back of the hedgehog to create the quills.

7. Next, have your students glue a googly eye to the hedgehog.

8. Lastly, have your students glue the cotton ball to the tip of the hedgehog’s nose.

9. Now, have your students title their construction paper “Ready for Cold Weather”.

10. Then, have your students write “Point” and “Reason” on their paper.

11. Now have your student review the story. Help them to identify a point made by the author and the reasons they give to support it. Write this on the construction paper.

12. Have your students repeat step 10 again to find another point and supporting reason within the text.

Your students should now be able to identify important points made by an author within a text and the supporting reasons they give to prove their point.

Thank you for visiting our blog! If you liked this activity and would like to see more, please visit our website and our Pinterest! See you next time!

2nd Grade: Lion Tales!

Hello everyone! My name is MacKenzie!

I am currently a junior at ASU studying Secondary Education (English). I love working with America Reads because it gives me an opportunity to create unique and engaging activities for students of all ages. I love creating hands-on activities that encourage students to take an interest in their own learning. In this activity, the students will be creating their own lion from the story using a paper plate. The students will create the lion and summarize what happens in the story. The students will also focus on finding the moral of the story.

Your students will be able to identify the moral or lesson from fables and fairytales. They will be able to summarize fables and fairytales and identify key details.

This will meet the Arizona Common Core standard (2.RL.2), by teaching students to recount stories, including fables and folktales from diverse cultures, and determine their central message, lesson, or moral.

What you will need:

● Provided template 

● Piece of cardboard 

● Clear tape 

● Glue 

● Scissors 

● String/yarn ● Pencil

● Construction paper
● Paper plate
● Marker/Pen
● Orange paint
● Yellow paint
● Brown paint
● Scissors
● Glue
● Googly eyes

Directions:

1. Read “The Lion and the Mouse” with your students. You can use any version you choose! Tip: As you read, highlight sections of the story with key details that pertain to the moral.

2. Have your students create their own lion using the paper plate! First, help your students to paint the middle of the paper plate a golden brown using a mix of the orange, yellow, and brown paint.

3. Next, instruct the students to paint the remaining portion of the paper plate brown and let dry.

4. Once the plate is dry, have the students paint the mouth on the lion in the middle of the plate by creating a heart shaped nose using the brown paint.

5. Next, have the students paint the whiskers of the lion using brown and white paint.

6. Then, have the students glue the googly eyes to the lion’s face and paint some eyebrows on it. Tip: Have the students make their lions more personable by making different faces for their lions!

7. Next, help your students to carefully cut strips all around the paper plate, cutting from the outside all the way into the middle circle.

8. Now help the students cut the construction paper in half and label their paper “Title”, “Moral”, and “Summary”.

9. Have the students write the title of the fable on their paper.

10. Next, have the students write down the moral they found within the story.

11. Then have your students summarize what happened in the story and write it on their paper.

12. Lastly, have students staple their write up sheet to their lion!

Results: Your students should now be able to summarize fables and identify the key points and morals within them.

Thank you for visiting our blog! If you liked this activity and would like to see more, please visit our website and our Pinterest! See you next time!