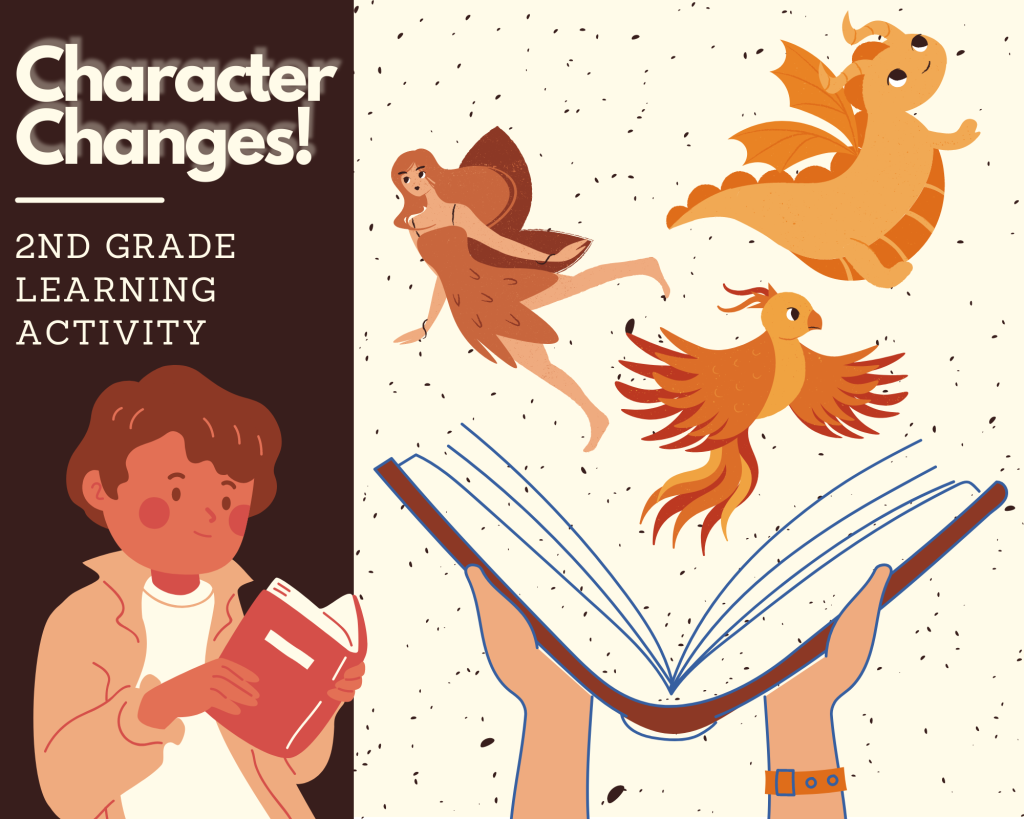
Hi, I’m Jordyn!
Have you ever read a story and wondered how different a character was at the end compared to the beginning? I know I have! With this activity, the chart you make will show you exactly how the character reacted to certain events and how those events changed the person.
After completing this activity, students will be able to determine a character’s personality at the beginning of a story and compare that to their personality after a major event occurs. They will also be able to analyze how a character responds to an event.
This will meet the Arizona Common Core standard (2.RL.3), by teaching students to describe how characters in a story respond to major events and challenges.
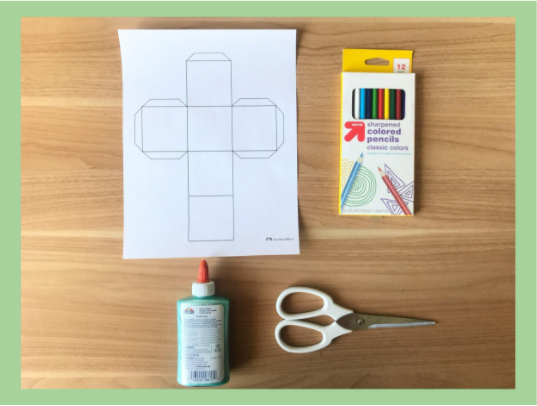
What you will need:

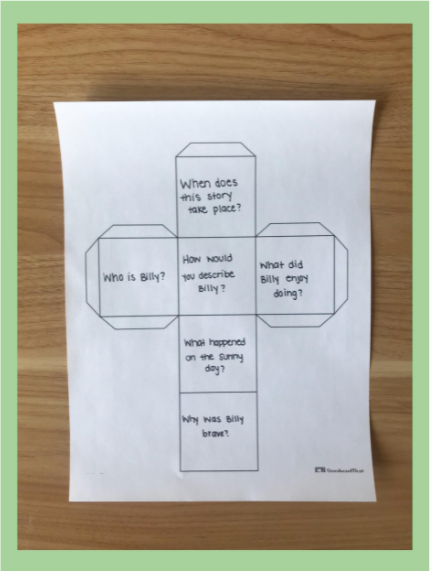
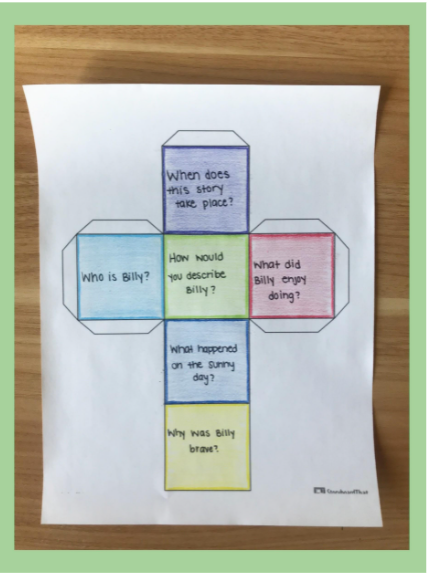
● Provided template
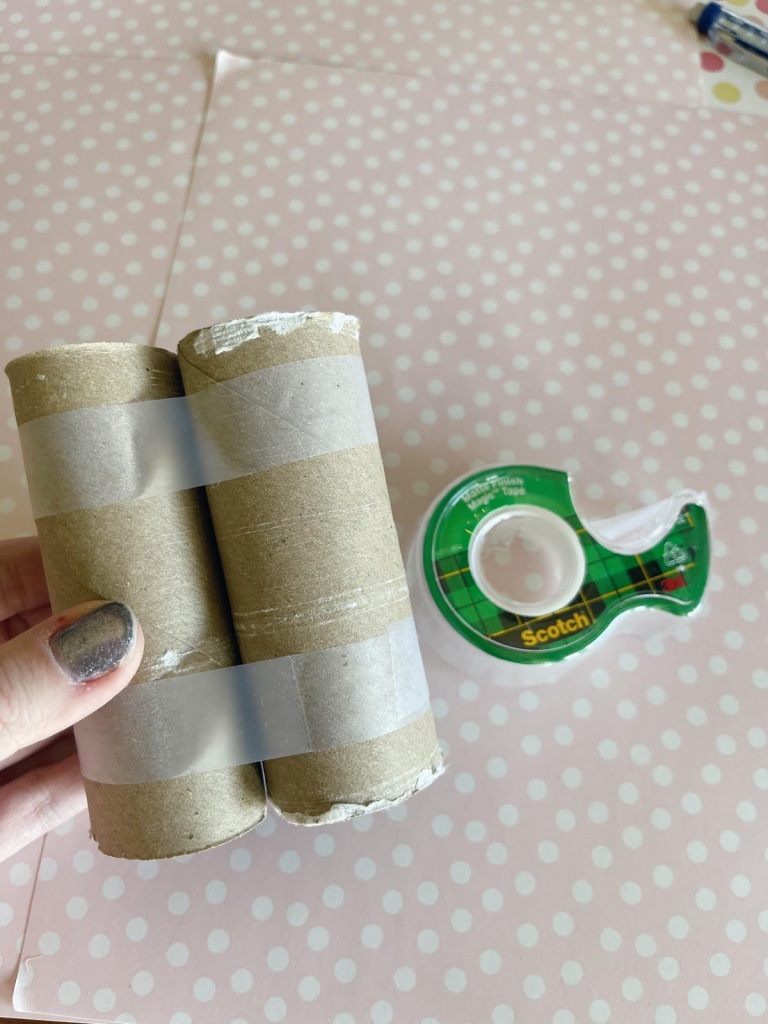
● Piece of cardboard
● Clear tape
● Glue
● Scissors
● String/yarn ● Pencil

- Paper
- Device with Internet Access
- Any writing utensil (i.e: pencil, pen, marker, etc.)
- Short Fables to read: https://www.shortkidstories.com/story/aesops-fables
Directions:
1. Once you’ve accessed the fables, pick one to read. Read the whole passage and think about the story.

2. Take your paper, and fold it in half “hotdog” style. Open the paper, and take your writing utensil and trace the folded line, making the line nice and dark.

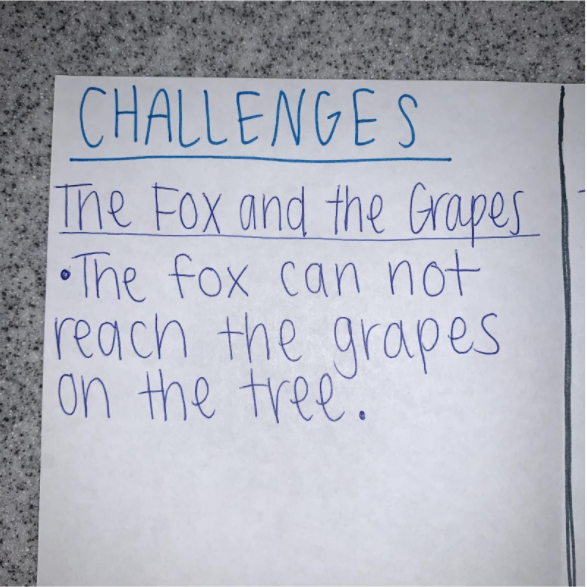
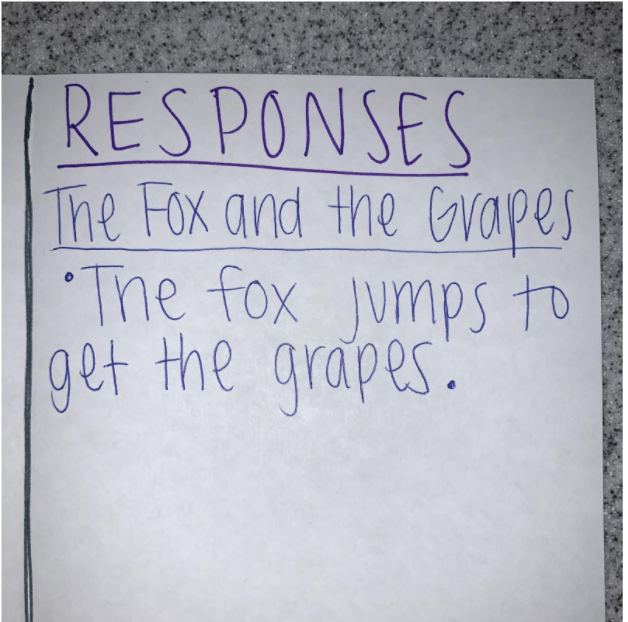
3. Label one side of the paper “Challenges” and label the other side “Responses”.

4. Reread the fable, and write the name of the fable you read on the top of both sides of the paper.

5. Determine what the main challenge the character faces is. Write the challenge on the “Challenges” side of the paper.
6. Next, find the way the character responded to the challenge and write this on the “Responses” side of the paper.
7. Repeat these steps with other fables on the website.

At the end of the activity, the student should have a chart full of challenges and responses from differing stories. They can do this activity with a picture book for more of a challenge. This is a simple method to help them describe the relationship between a challenge and a character’s response.
Thank you for visiting our blog! If you liked this activity and would like to see more, please visit our website and our Pinterest! See you next time!